Menu Planning Mondays…..Made Easy!

So its Monday here at my house.   That typically means that there are piles of laundry, a mountain of dishes, obstacles of toys and NO FOOD!

And I am in a super awesome mood to tackle all of this, (Martha Stewart would faint if she saw the current state of my house.)  Bring it on!

Obviously the first thing to take care of is….. Laundry!  Just kidding!   Its obviously food.  Which means menu planning.  (groan, laundry is looking pretty good right now, right?)

Brooke was having a hard time with coming up with dinners when she and her husband both work full time jobs.  It was a lot easier to stop and grab a quick dinner on the way home from work.   (Preach!)  So she wanted to come up with a way to help make grocery shopping more convenient so they could save money and eat healthier.

Menu Planning is KEY to staying on track with your budget, time, and diet!

But how to make it more fun???

If anyone can do it Brooke can….

And she DID!

12540336_10208071670766224_525797660_n

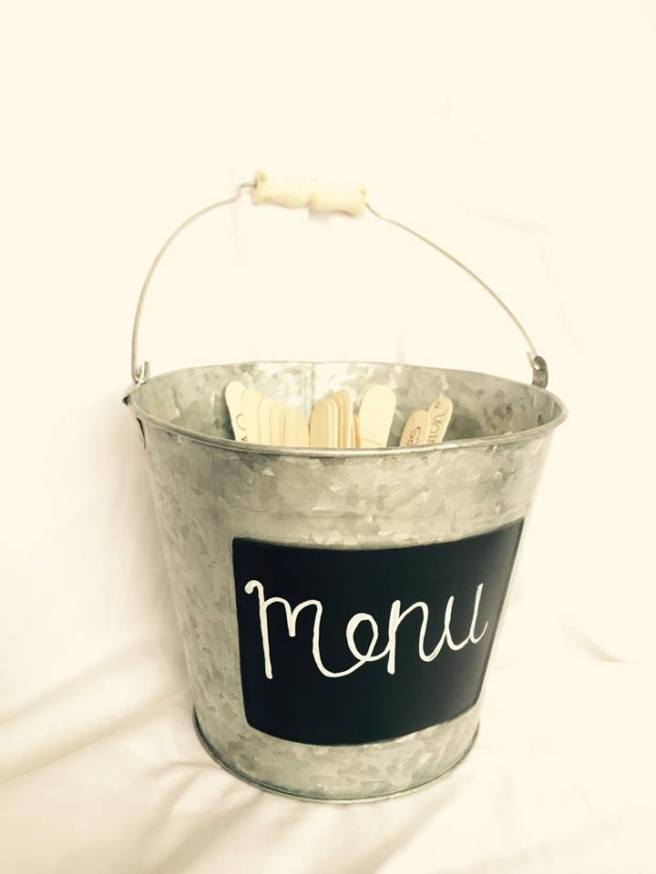
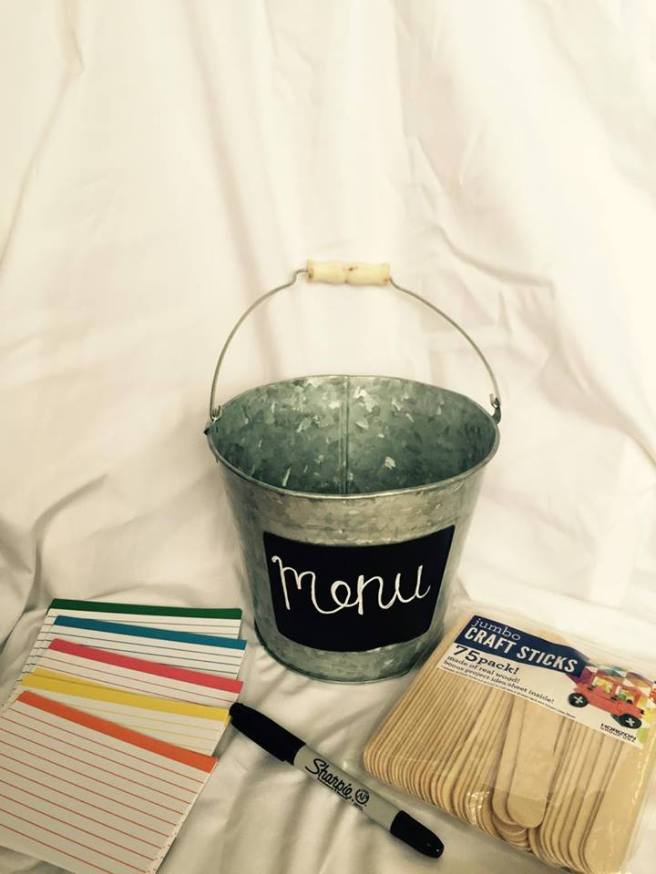
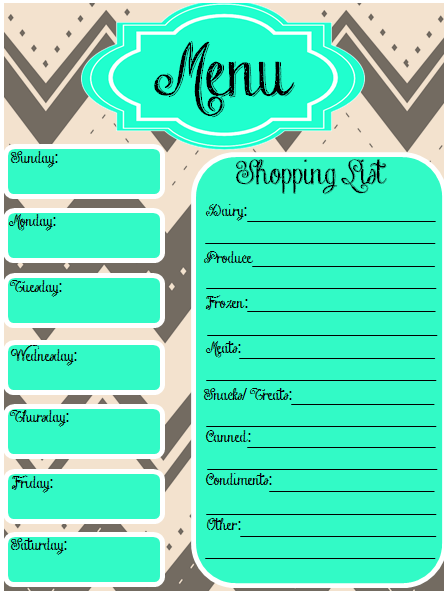
Brooke has a bucket of dinner ideas written on popsicle sticks!  (Totally having a flashback to school where the teacher picks and activity written on a stick out of the can.) And an amazing Menu Planner that makes it easy!

Untitled

Brooke and Loren set aside a day of the week to menu plan.  If this seems difficult to you, trust me its not.   This 15 minute planning session is brilliant!   Each Saturday they sit down with their Bucket of Ideas, Recipe holder, and the menu planner, and a calendar!  They take turns pulling out ideas and then pick a day on the menu planner and calendar to see what day works the best for that meal.

12516501_10208071667326138_314568048_n

Ideas:

  • Some of the sticks has numbers that correspond with the recipe, so you can find it easily and quickly.
  • color code the meals based on categories, (e.g. blue means 30 minutes meals, green means vegetarian)
12511527_10208071667166134_242282260_n
  • Having your kids and spouse involved makes it fun!   Your kids will be excited to be involved!
After they have picked out their menu and assigned it onto a day on the menu planner, they use the shopping list on the right side of the menu planner.
This makes it easy to organize what foods you need into categories to make grocery shopping easier.
Untitled


After shopping you place the menu planner on the fridge so that you don’t have to stress about what to make for dinner that night!  Until you get your own personal chef that is….

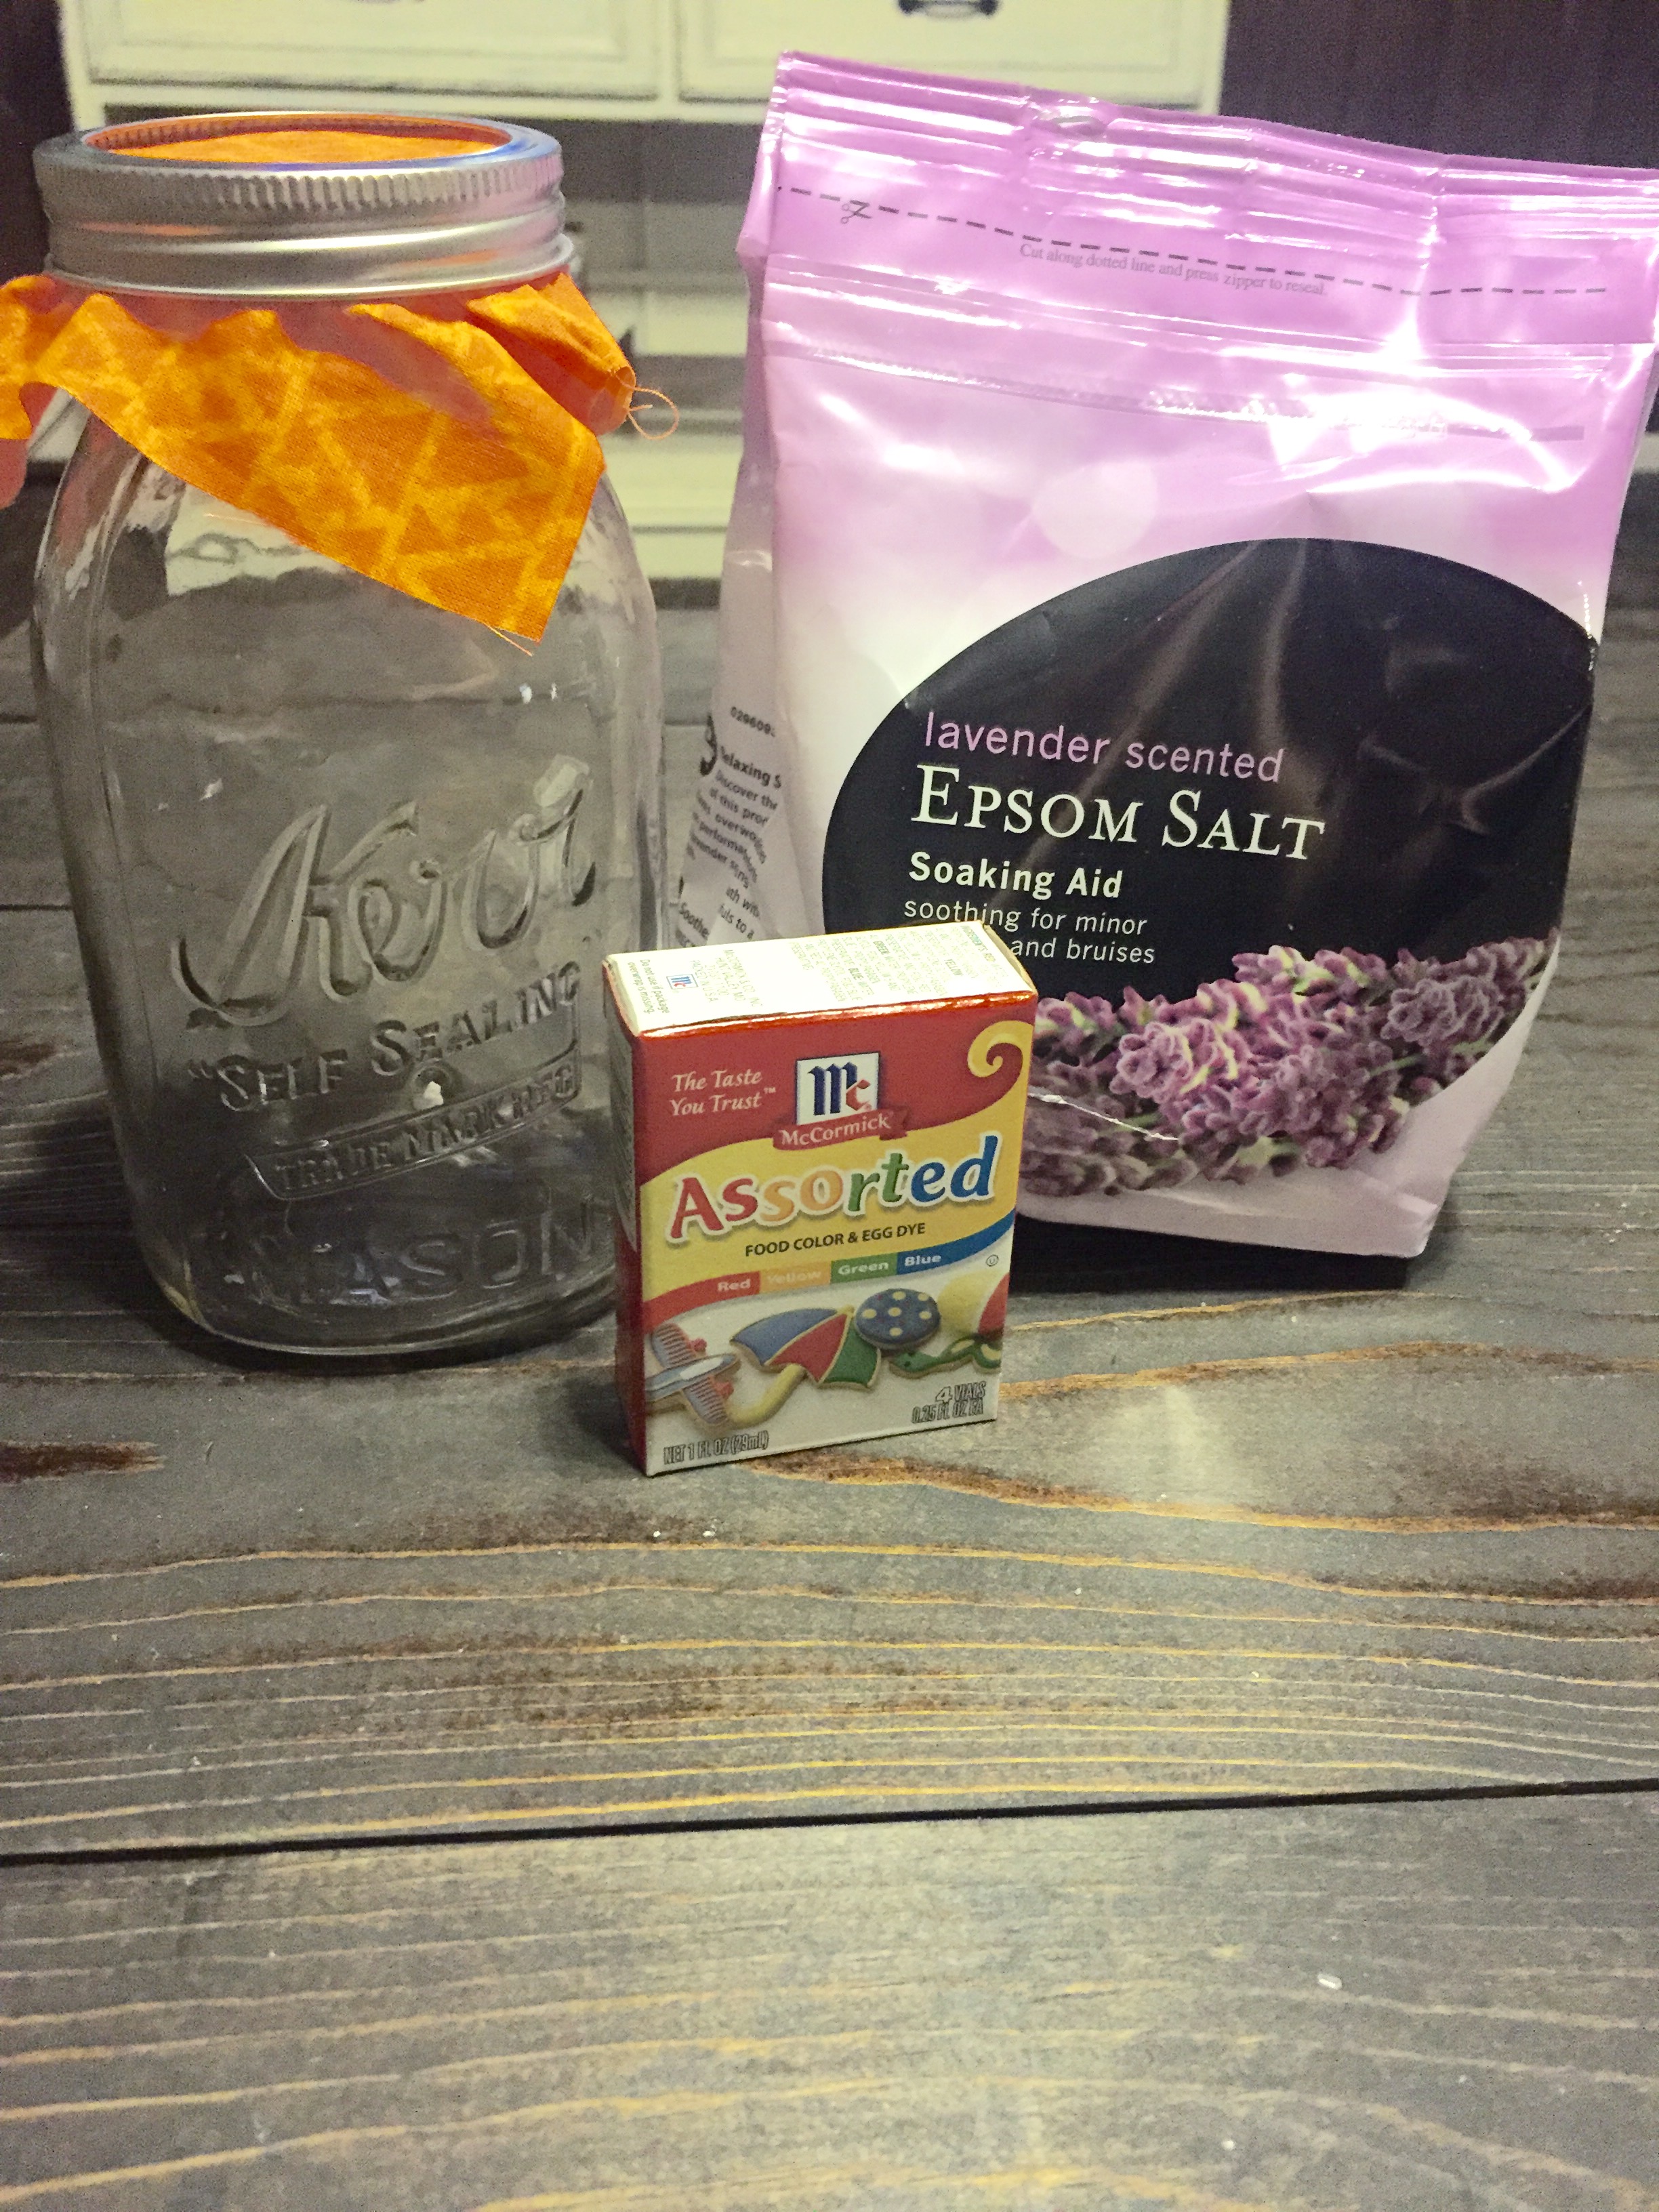
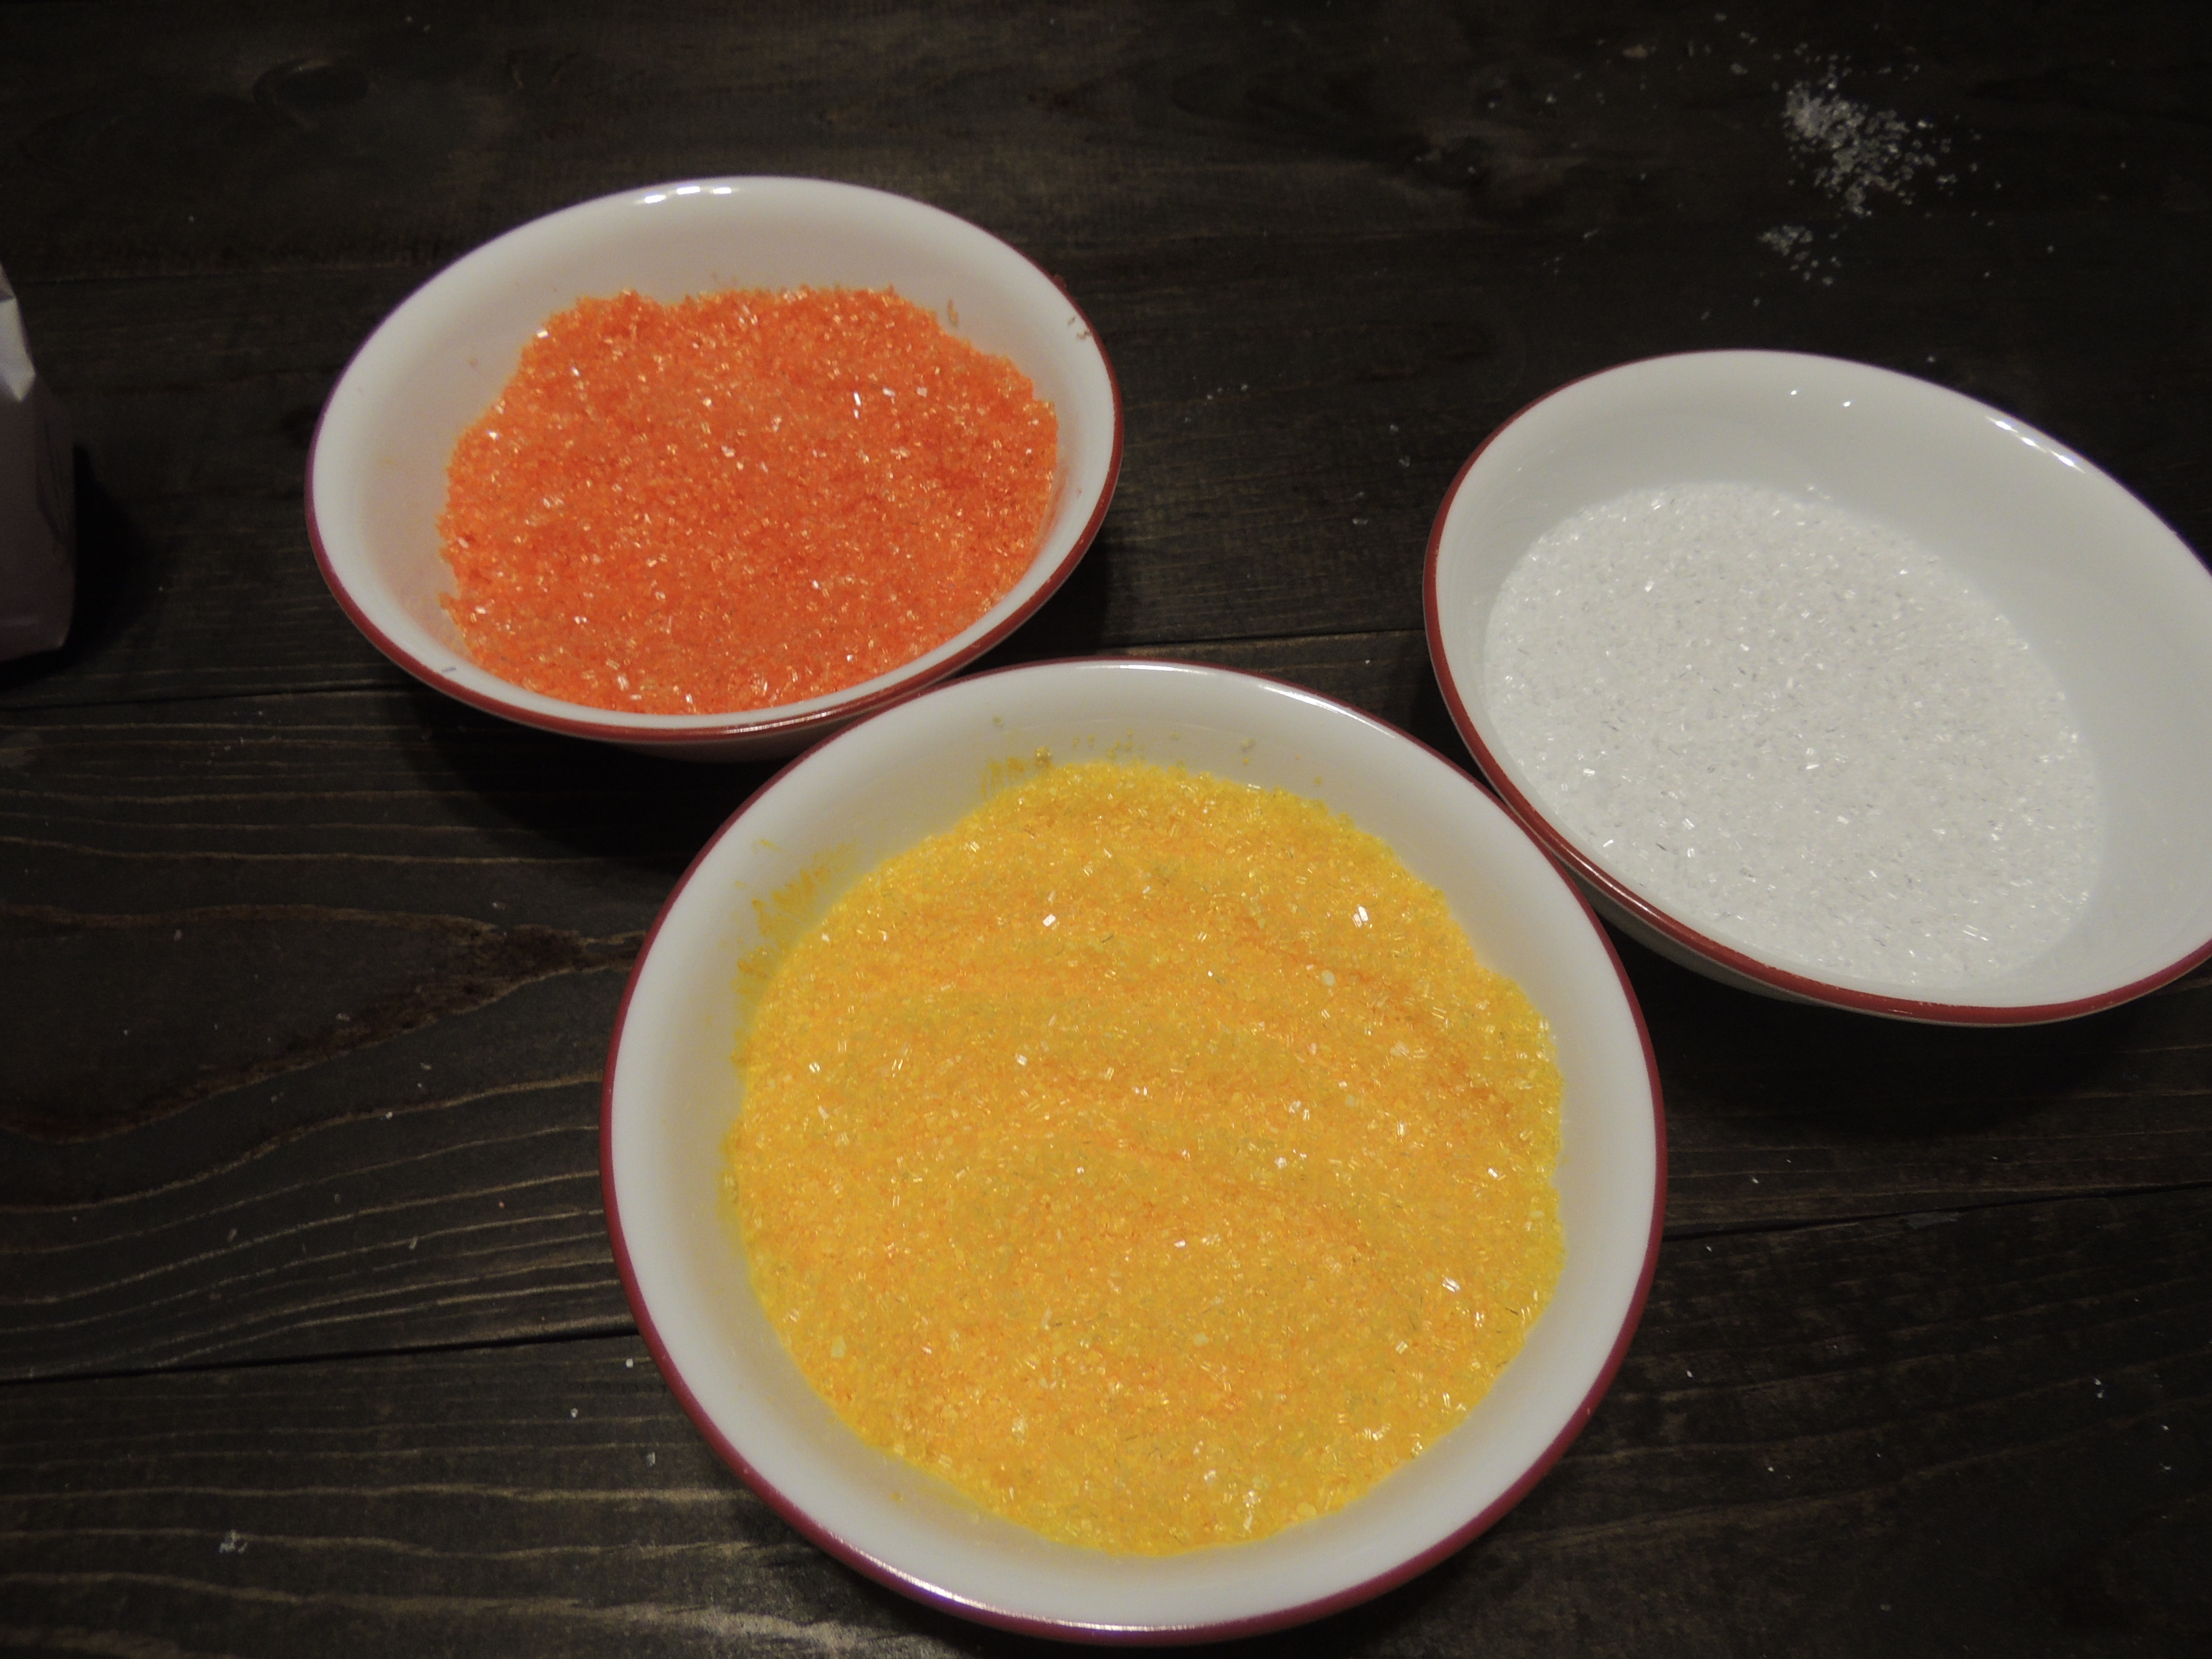
Want to make your own?  Its EASY!

Here’s what you need: And a Free Printable!!!   YAY!!!

12483346_10208071791169234_1227365256_n


Over the Top Hot Cocoa Bar

12511962_10208066004104561_690261996_n


So… Its January…. its cold…  smoggy (is that a word?)  and did I mention its cold?   I am convinced that the only reason that I was born in January was to provide a wonderful moment amid the darkness of winter.

But one of the greatest things about winter is Chocolate… HOT CHOCOLATE!!!

11

Brooke recently had a game date night with another couple, and took it to a whole other level with the TARGET ONE STOP SECTION!   Hot Chocolate Bar anyone???

Everything you see in the picture above excluding the chalkboards was found at our favorite guilty pleasure shopping spot…. Target!

12512011_10208066005384593_106830466_n

Brooke spoiled her guests by providing each of them with their own personalized mug!   (they got to take their own mug home as a party favor gift!)

12506759_10208066004424569_1610484_n

Brooke’s Guests got to choose between different hot cocoa mixes such as, milk chocolate, peppermint, dark chocolate (hey its good for the heart!).

12511891_10208066004664575_792219693_n


Then they got to top it off with any mix in they wanted!   Brooke had peppermint sticks, mini marshmallows, and caramel vanilla creamer (I had to stop to wipe the drool from my mouth!) The possibilities are endless! And of course the darling paper straws to top it all off!

As I said before, Brooke took this Game Date night to a new level!  Perfect for Valentine’s day, Superbowl parties (you can make it while you pretend to watch the game….  you can’t break during the commercials!)  and those cold winter nights with friends and family!

Enjoy!

2015 Holidays | City Creek

image

Santa Claus is Coming to City Creek Center

www.shopcitycreekcenter.com/m/holidays

Last year around this time was crazy for us.  My husband was working crazy hours in downtown Salt Lake and we were always looking to find ways to spend more time with him.

When he told me that City Creek Center has the arrival of Santa that night, I loaded up my kids and we were so excited to see Santa! 

It was awesome, of course my baby girl didn’t care too much, but my 4 yr old son loved it! 

When we arrived at Santa’s stop they were passing out lights to the kids so they could help to guide Santa’s sleigh.  

Some special  “helpers” guided us in singing some Christmas Songs.  By the way, people were so kind and amazing! 

As Santa got closer the excitement grew and grew.  When Santa arrived on the roof City Creek had some small fireworks that made it all so magical!  One of the best ways to start the Christmas season! 

Santa is coming to City Creek Center on November  19th at 6:30.  Arrive a little early to park and find a good spot, (there is really no bad spot, but I think the 2nd level by kneaders bakery is the best).  

America First credit union sponsors Santa at City creek, and they provide deals to members if you have your card! 

Oreo Mint Truffles

Oreo Mint Truffles

Fall is one of the best times of the year, and I LOVE to be able to take the time to calm down after a crazy Summer and spend sometime in my home with family!

And what better to keep us company than these delicious Oreo Mint Truffles made up of the best things, Andes Mints and Oreos!  YUM!

what you will need:

  • 1 package of oreos
  • 1 package of cream cheese
  • 1 package of andies mint chocolate chips
  • food processor
  • cookie sheet

directions

1. Put the package of Oreos into a food processor and chop until it is very fine

Truffles1

2. Mix the chopped Oreo with softened cream cheese until blended completely

3. Roll the mixture into balls and place on a cookie sheet

4. Place the cookie sheet into freezer for 30 minutes

5. Melt chocolate chips in a deep microwave safe bowl

6. Pull out 1 frozen ball at a time and drop into melted chocolate. (it is important that the oreo balls stay frozen so that the warm chocolate hardens) cover entire oreo ball in melted chocolate and place onto a plate

7. Place the plate of truffles into the fridge for 10 minutes

I had some extra cupcake liners and baggies so I made little gift bags for my family and friends as seen in the picture.

IMG_4679

They are sooo yummy and so simple. They were a huge hit and my hubby and nieces are demanding more!

Smell My Feet Halloween Printable

IMG_4717

“Trick or Treat, Smell My Feet”

So, if you are like me you leave visiting teaching to the last minute….  even with the best of intentions the end of the month always seems to come sooner than expected.  During October, I don’t like to drop off treats, (isn’t sugar everywhere?) but I love the idea of this cute cute printable Brooke came up with!  Just pick out your favorite pedicure supplies and wrap it up!  How cute and easy is this to drop off to your neighbors?

Here is the Free Printable here!

Smellmyfeet

Countdown to Halloween Surprise Bags

IMG_4726
Halloween Surprise Bags

This idea we stole from my amazing mom!   At the start of October she drops off these Halloween bags for my 2 kids.  Each of the bags has the date when they get to open the special surprise.  I love this because she chooses things that my kids get to enjoy the entire month!

Even doing this leading up to the day is exciting!

Here are some things that she has put inside:

  • Cheetos Skeleton Bones
  • Skeleton Jammies and clothing
  • Glow Sticks
  • Halloween Window Clings
  • Spider Rings
  • Halloween Cereal
  • Halloween shaped noodles for chicken noodle soup
  • Dollar store toys
  • Coloring books
  • Pumpkin Tattoos
  • Pumpkin carving kits
  • I’ll add more when we open the others!

Trick or Treat Wreath

Okay, Brook has done it again people! Seriously??? This wreath is so cute and it is the perfect thing to show off to your neighbors!

What you will need:

DSCN0625 DSCN0627

  • felt and fabric for flowers (see post soon)
  • yarn (I just used black and white)
  • foam round wreath base
  • cardstock to print letters on

steps
1. wrap yarn around base alternating colors

DSCN0629
2. cut felt flowers (how to coming soon)
3. Print and cut trick o’ treat letters (attached)
4. hot glue yarn to back or banner letters

DSCN0630
5. add flowers and lettering as desired.
6. add extra ribbon to hang wreath

Happy Halloween ENJOY!!

IMG_4698

Spooky Halloween Banner

IMG_4707 (1)

Did you ever notice that Halloween night is the one night of the year where you have millions, (okay maybe hundreds, but my candy budget feels like millions!) of people coming to your doorstep? Don’t worry if you haven’t done too much yet! We have your answer to make it look amazing here:
Halloween is on a Saturday this year, which means that the countdown begins to trick or treating as soon as you wake up! Making this Darling Spookky Banner is just the easy craft you need to help pass the time and leave an impression on those that enter your doorway!
Items needed (all was found at Michaels):

DSCN0590

• Cupcake liners of any kind
• Halloween scrapbook paper
• Ribbon
• Letter stickers
• Spider web tulle (Did you know such an amazing thing existed??)
• Banner Outline
• Glue
• Scissors
Steps:
1. Cut cupcake lines to desired size and glue together in the middle so that the edges curl out, then apply letters.

DSCN0592
2. Cut out banner triangles to desired size; add ribbon to top of triangles to add some color.

spoky2
3. Decorate! I added some Halloween stickers to add a little more color and dimension

DSCN0607

DSCN0606

DSCN0605
4. Glue the triangle banner pieces to the folded in half tulle or you can also use ribbon or yarn
5. Hang it up and Let your neighborhood Enjoy!

IMG_4707 (1)

Halloween Candy Corn Bath Salt!

IMG_4714

Okay, to be honest we both HATE candy corn (and yes I have tried all of the new flavors its a texture thing!), but we LOVE this Candy corn bath salt.  A warm bath on a cool Fall day hits the spot!  This is so easy to make!

What you need:

FullSizeRender

Mason Jar

Food Coloring

Epsom Salts (scented or unscented)

Essential Oil (Optional)

1. Divide Epson salts into three, I used already scented salts but you can also use a few drops of an essencial oil

2. add food coloring, mixing red and yellow to make the orange. stir until all color is mixed in

DSCN0641

3. pour into mason jar, orange first, then yellow and then white.

4. you can add a ribbon or some fabric to dress it up a little bit.

Enjoy!