
Fall is one of the best times of the year, and I LOVE to be able to take the time to calm down after a crazy Summer and spend sometime in my home with family!
And what better to keep us company than these delicious Oreo Mint Truffles made up of the best things, Andes Mints and Oreos! YUM!
what you will need:
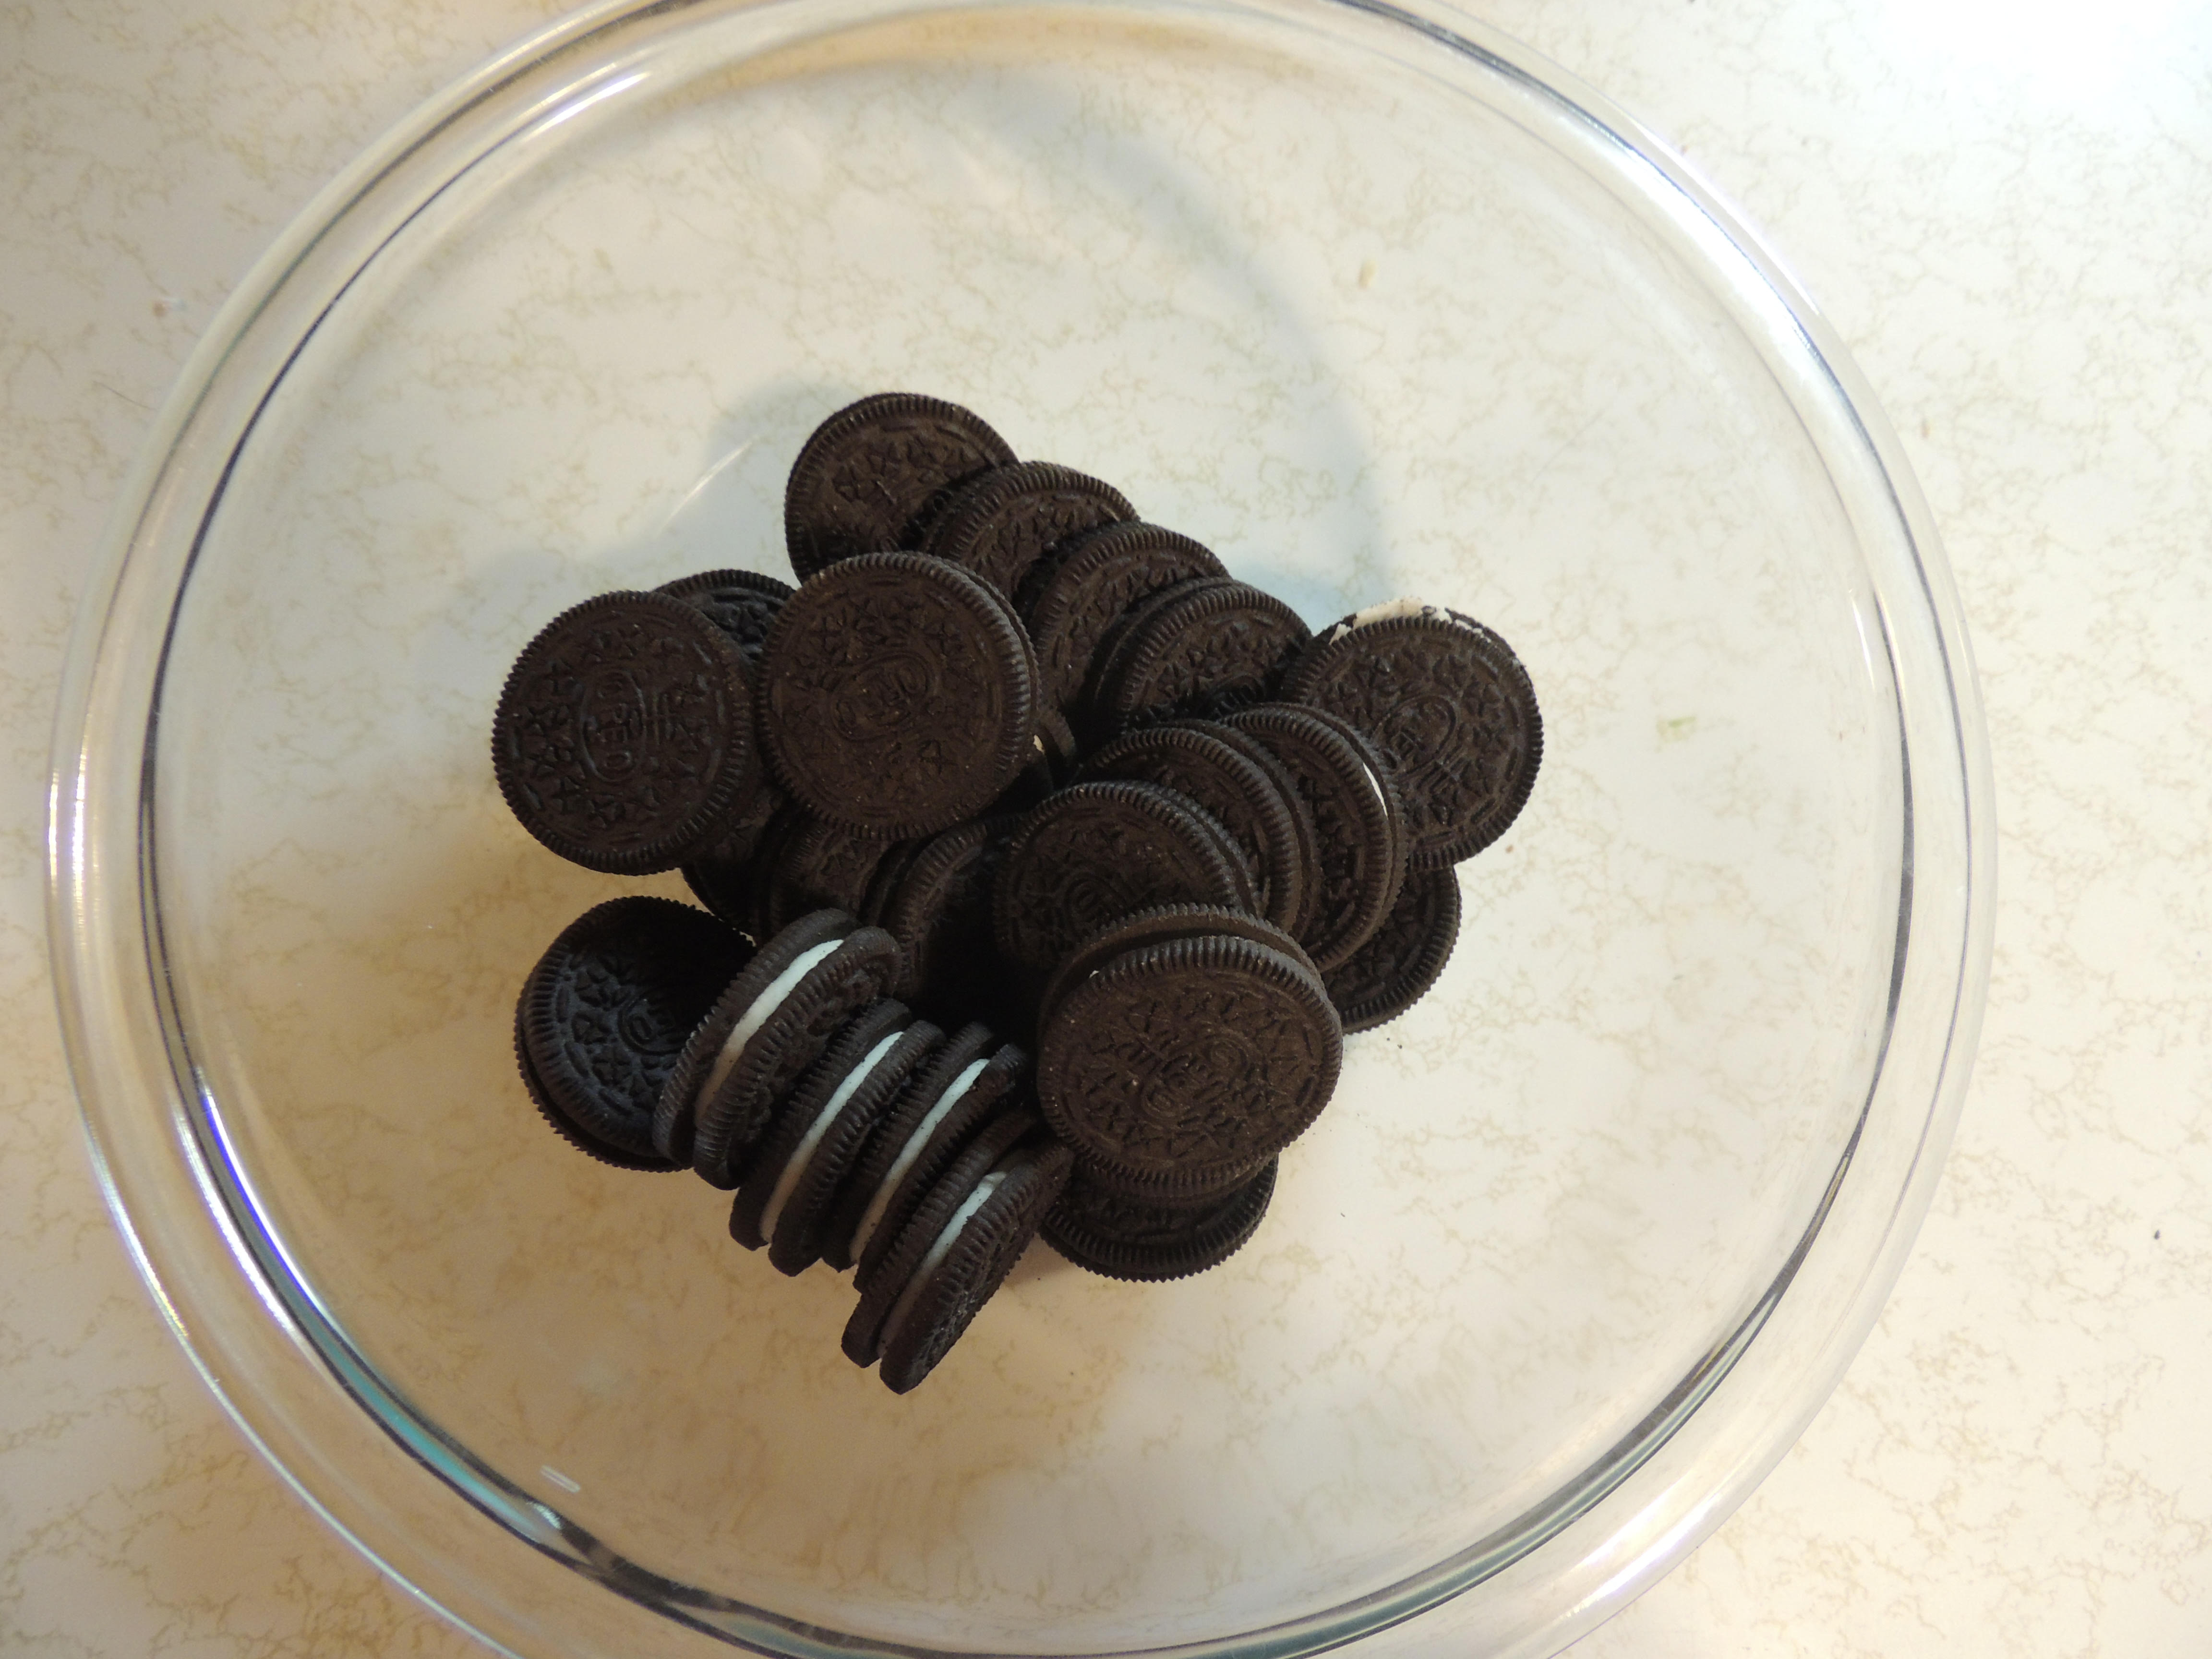
- 1 package of oreos
- 1 package of cream cheese
- 1 package of andies mint chocolate chips
- food processor
- cookie sheet
directions
1. Put the package of Oreos into a food processor and chop until it is very fine
2. Mix the chopped Oreo with softened cream cheese until blended completely
3. Roll the mixture into balls and place on a cookie sheet
4. Place the cookie sheet into freezer for 30 minutes
5. Melt chocolate chips in a deep microwave safe bowl
6. Pull out 1 frozen ball at a time and drop into melted chocolate. (it is important that the oreo balls stay frozen so that the warm chocolate hardens) cover entire oreo ball in melted chocolate and place onto a plate
7. Place the plate of truffles into the fridge for 10 minutes
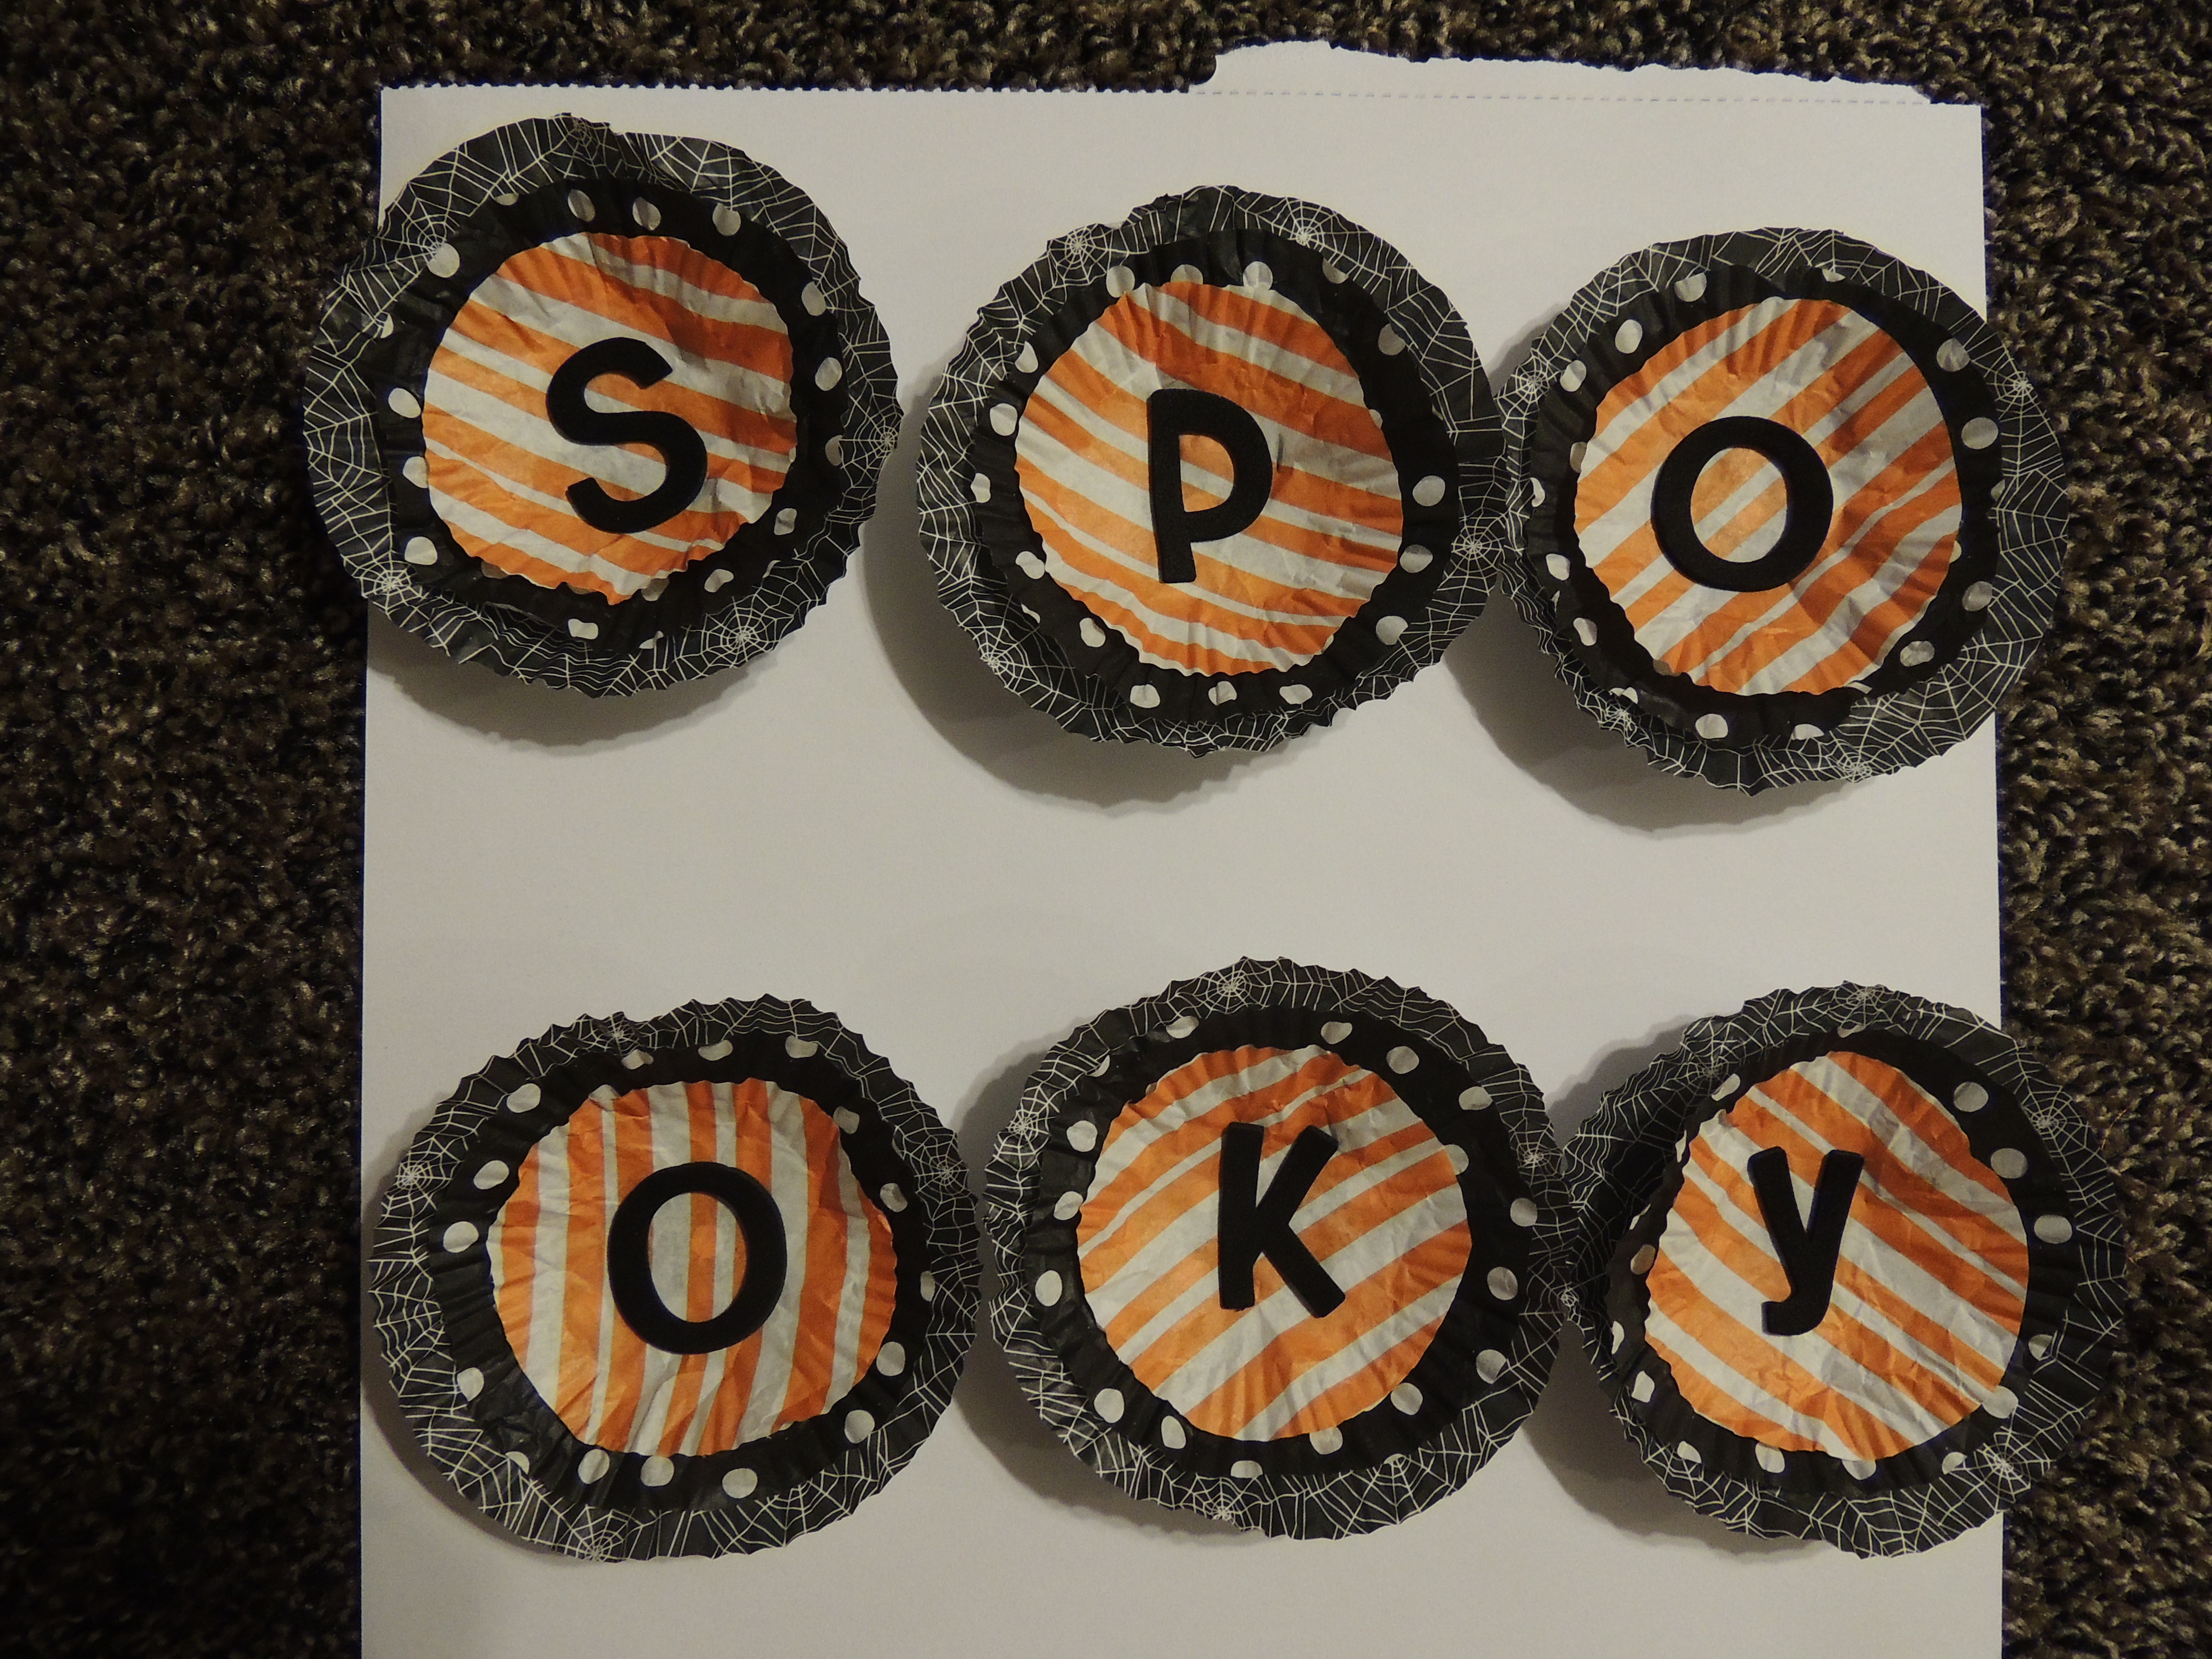
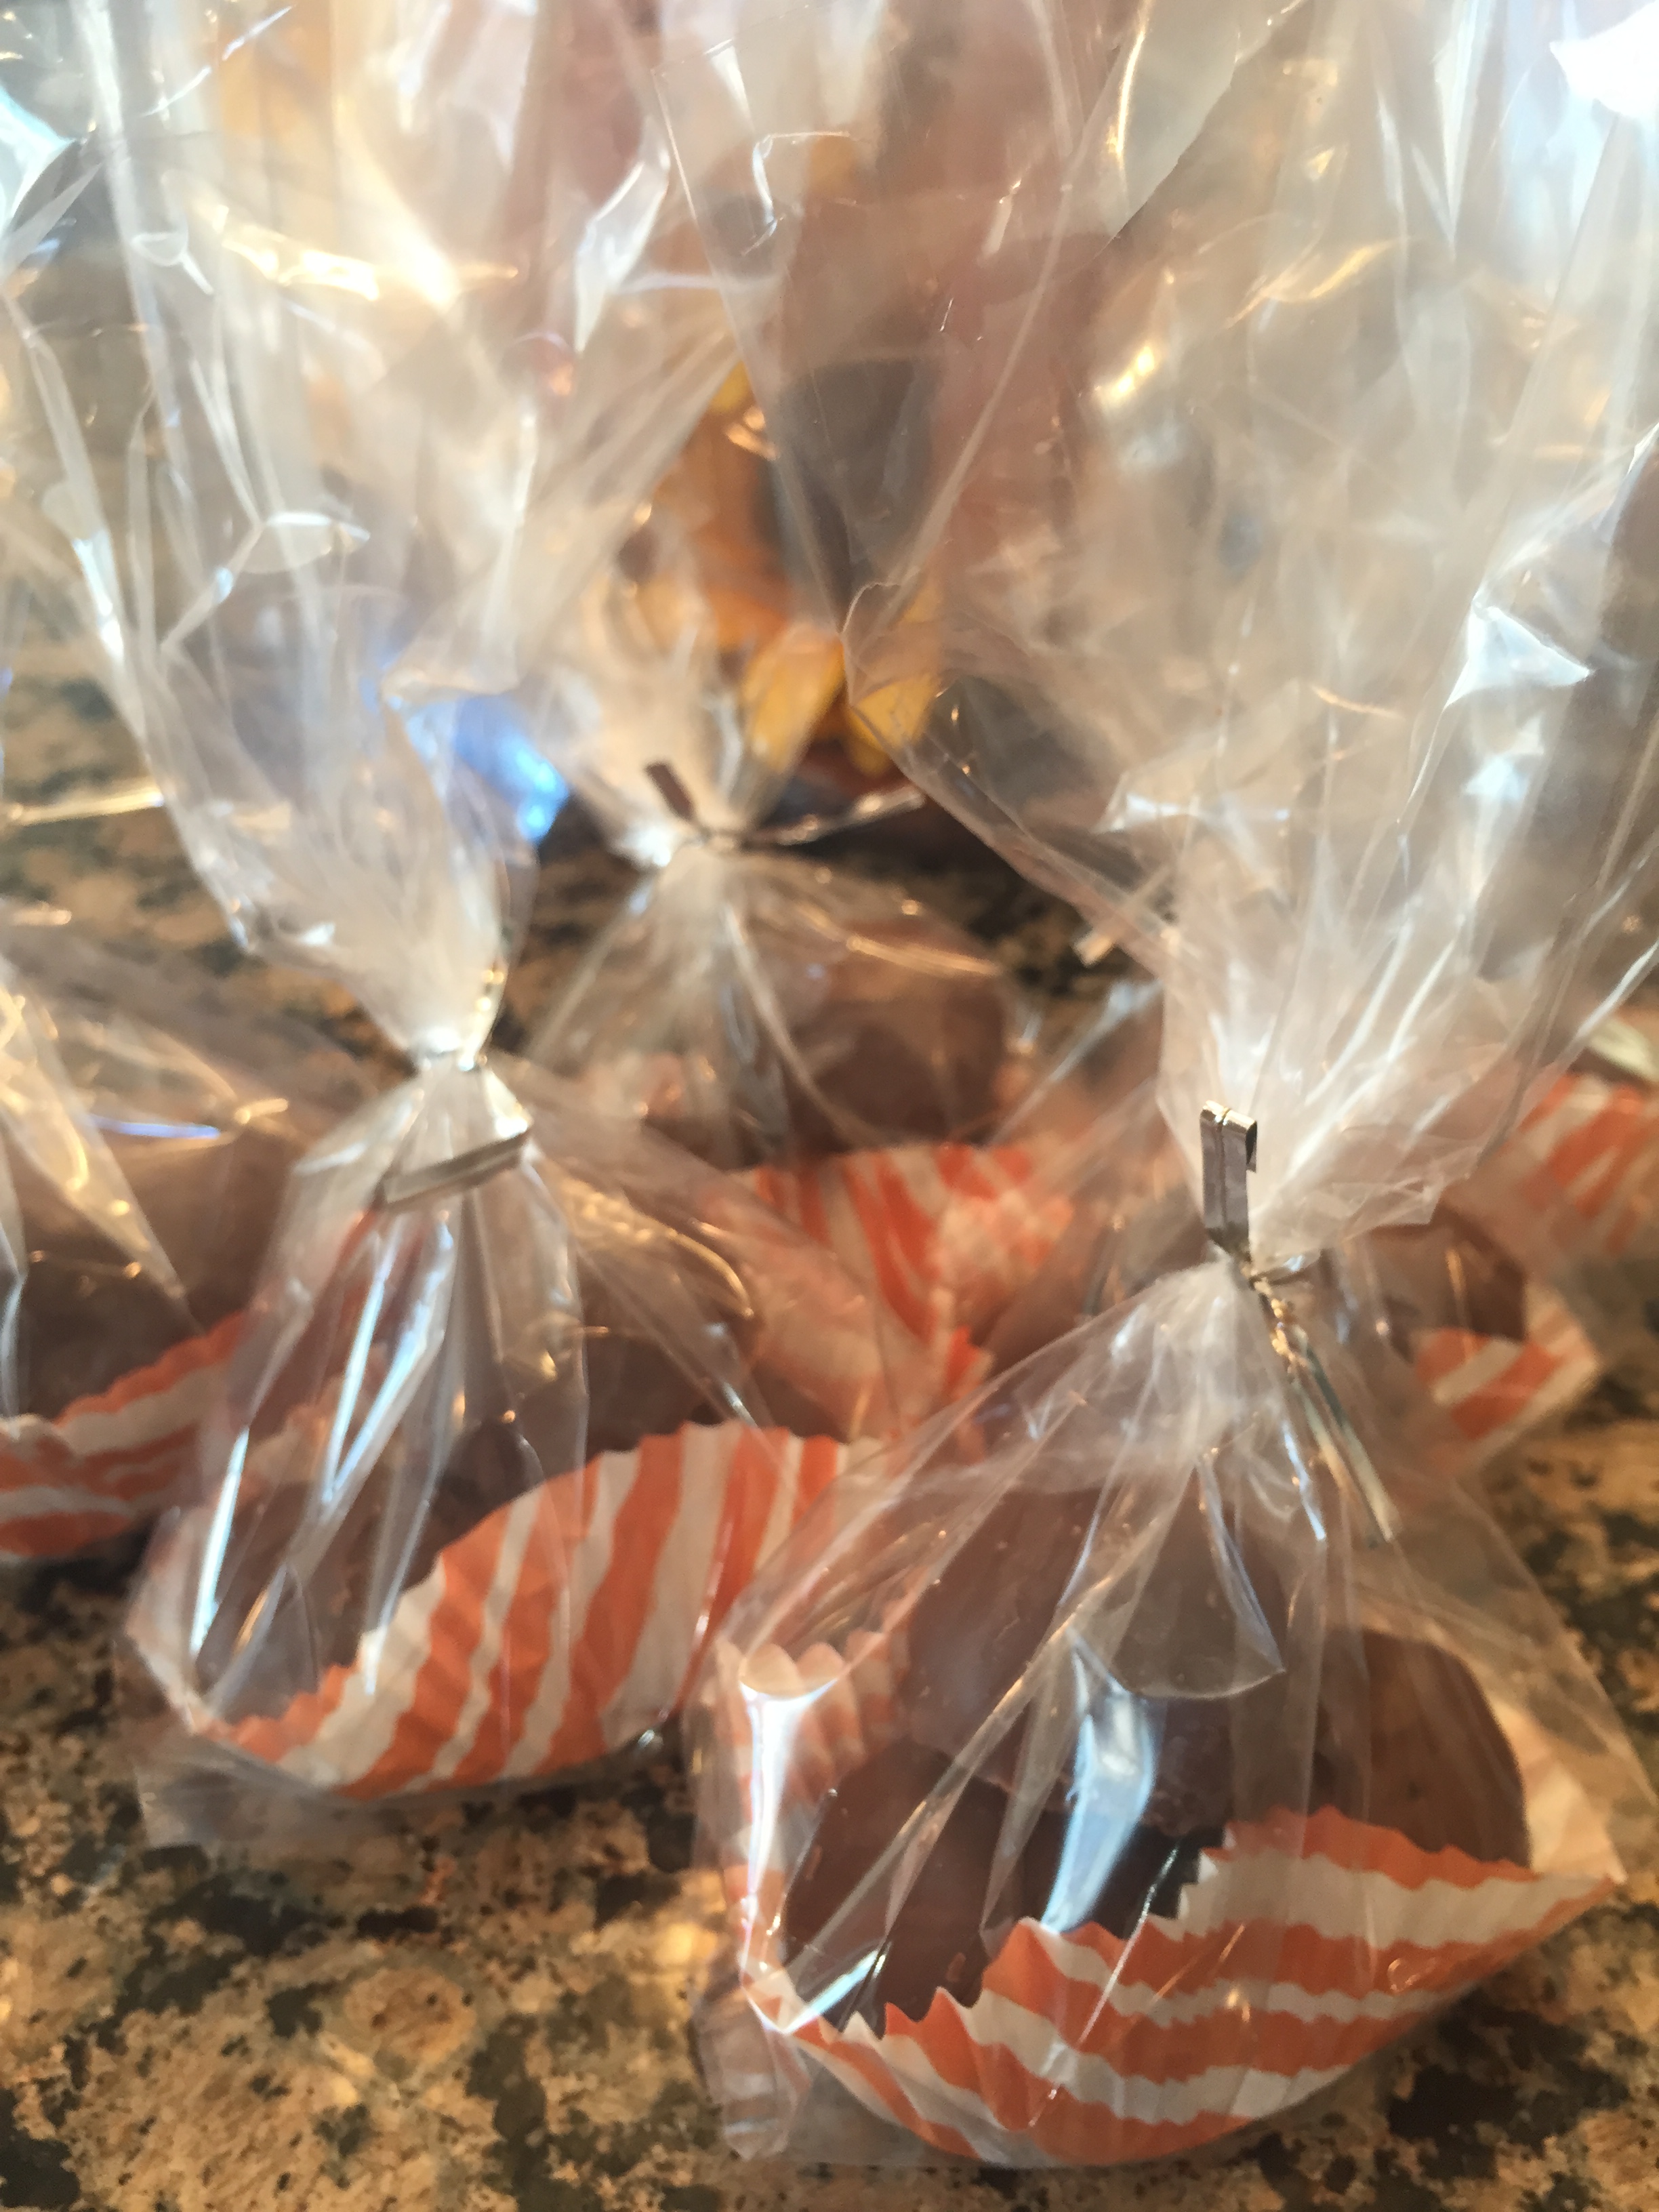
I had some extra cupcake liners and baggies so I made little gift bags for my family and friends as seen in the picture.
They are sooo yummy and so simple. They were a huge hit and my hubby and nieces are demanding more!